Harvesting, Curing and Storing kumara
Harvesting
Kumara needs to be harvested before the first frost so harvest time is determined by where you live. Up in the Far North we usually start in April but can reliably leave it until May with no danger of frost. Unless you get very early frosts where you are then the earliest I would harvest would be late March / early April. Wet weather is usually the limiting factor up north so we harvest before the rains start. Dry weather is needed for harvesting as the kumara need to ‘cure’ in the sunshine before putting away into storage.
We try to harvest after the full moon and begin harvesting by scything the tops off the plants. I’ve heard people say that they can’t harvest because the tops haven’t died down but it’s important not to wait as the tops don’t die down before they are frosted which is too late. Incidentally the tops are good food and can be used in soups or stews or cooked like spinach or young leaves can be added raw to salads. They are also good stock food and our cows. At harvest time our milking cows have them as their daily treat during milking.
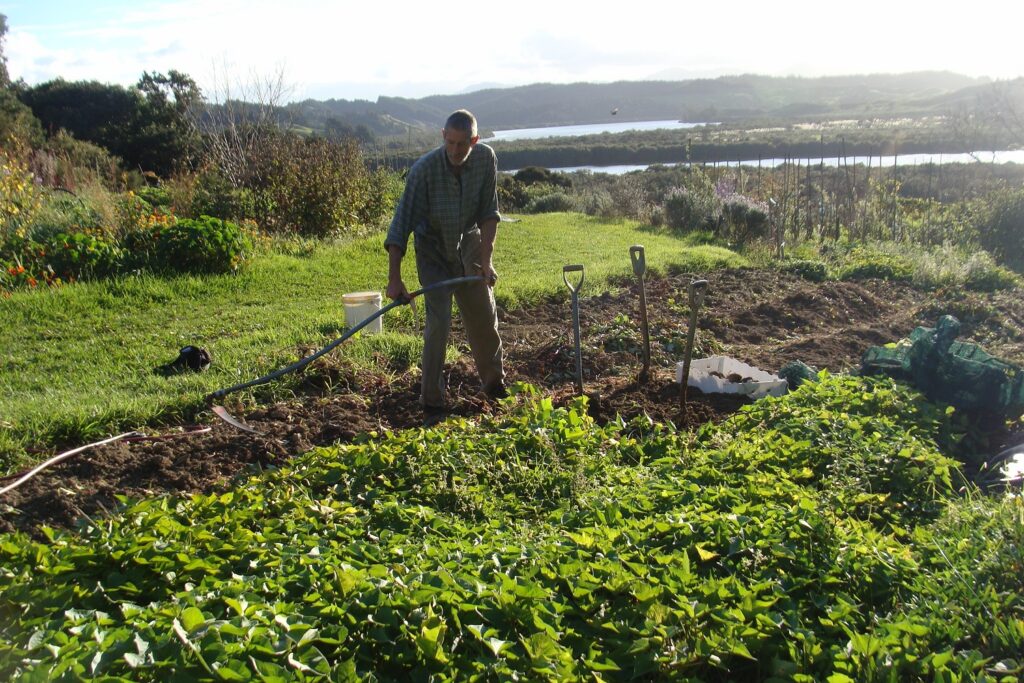

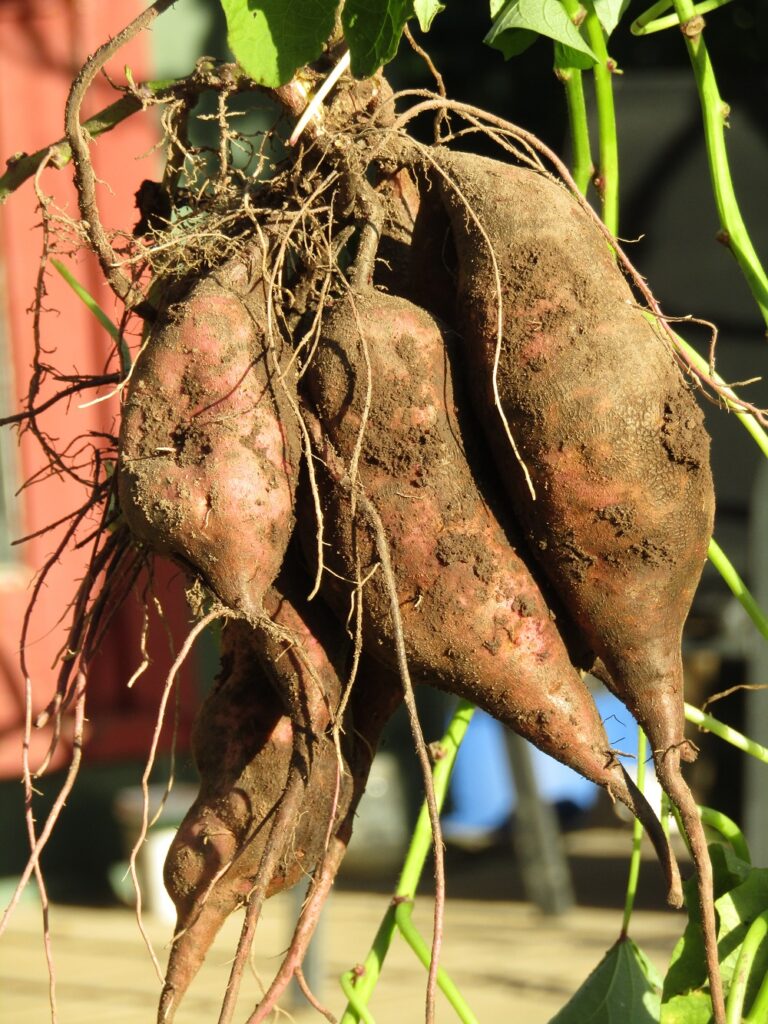
Once the tops are removed we harvest from one end of the bed using a garden fork taking care to avoid damaging the kūmara as damaged kūmara do not store well. Once harvested the next step is to cure them which is really important so that they will last a long time in storage.
Curing is a crucial step to ensure that your kūmara store well. It helps to harden the skin which keeps the inside moist and helps prevent bacteria and fungi getting in. It also helps to sweeten the kūmara. After we harvest each batch we spread them out in a single layer in shallow boxes and move them to our tunnel house or in the window of the garage. Both places are light but shaded and dry and warm. We don’t cure in them in harsh direct sunlight which can damage them. We leave them to cure for around 5 days and have mesh to put over the boxes at night to stop the rodents getting in.
We don’t wash the kumara but just brush the soil off with our hands once its dried. The kumara stores better if it hasn’t been washed.
Storage
After harvest we grade our kumara. Our seed kumara for the next year is selected from the very best tubers that are a good size, unblemished and undamaged. These we wrap individually in newspaper, label and store in one of our plywood boxes. The box is labelled “Seed kumara DO NOT EAT” for obvious reasons and kept in a cool, dry place where rodents can’t get to it.
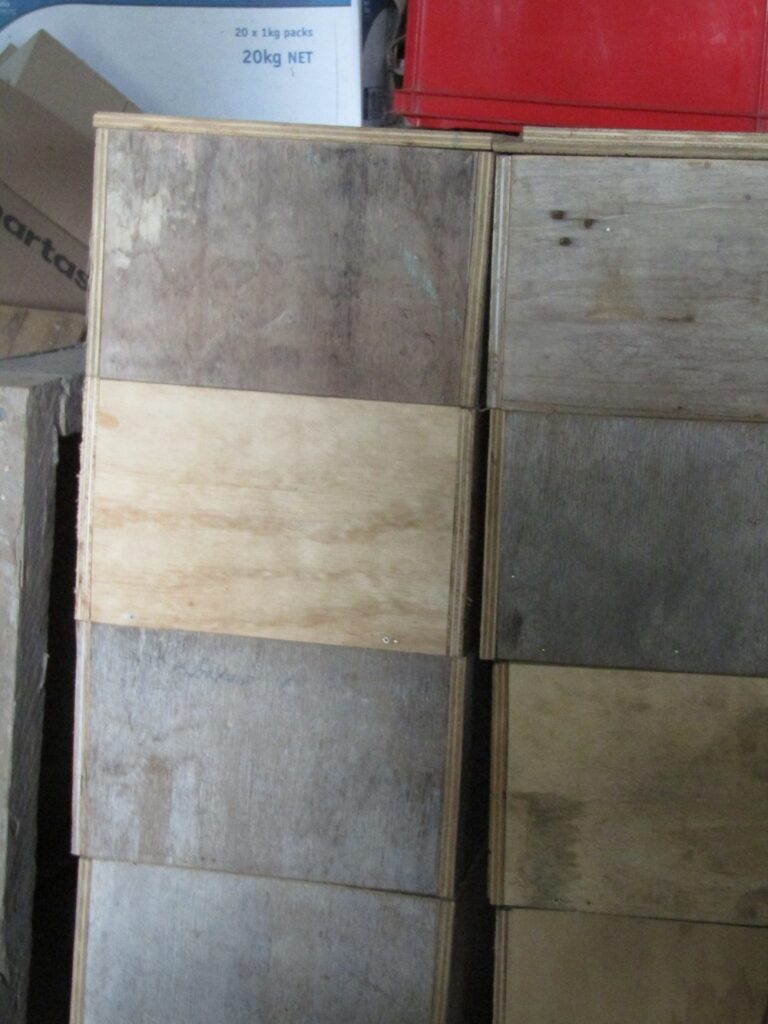
We used to store our kumara in cardboard boxes but rodents are quick to learn and each year we experienced more and more damage as the rats would eat their way into the boxes. So a few years ago John made some storage boxes out of eco-ply (untreated and no nasty glues) and these work a treat. The boxes stack and John made a lid for the top box and so far the rodents haven’t managed to get in. This has made a huge difference to us and we are able to store them until the next year’s harvest which feels pretty special! Now some of the plywood labelled ‘ecoply’ is treated which we wouldn’t use. This is the plywood that we used most recently
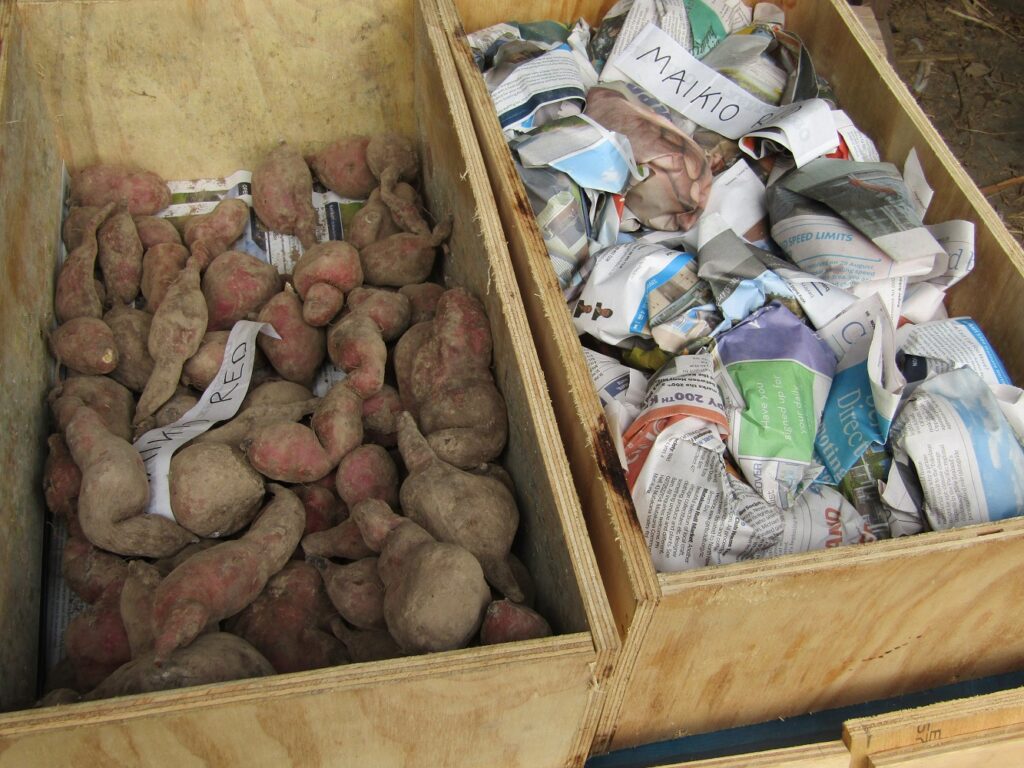
The rest of the good sized, undamaged kumara is to be stored for eating later in the year. Traditionally they were stored in layers with silver or bracken fern leaves (that have anti fungal properties) between layers. Some people store them in boxes with fern leaves or dry hay between layers but we find the easiest is to wrap them individually in newspaper and store them in the plywood boxes. Stored this way they keep for months.
Any small, damaged or split ones become our ‘use soon’ kumara. We used to store those in sacks but it was hard to keep the rodents out so now we store them unwrapped in the boxes and check them regularly. The final category would be small or damaged tubers that are too small to bother cleaning for cooking and those we feed to our cows. May, our milking cow, gets a small handful every day as part of her milking treat and she loves them!
It’s not good to grow kumara in the same beds the following year so rotate them around your garden as you do other crops. If you do start to get lots of holes in your kumara then try a sowing of mustard as a compost crop before the kumara goes into those beds.
If you haven’t grown kumara then I’d recommend it as they are a fantastic crop. If you’re not sure if kumara will grow in your specific area check with other gardeners locally and see if others have tried. Read about how we grow kumara
We will have kumara tupu to sell each year – details here