Growing Kūmara
We love kūmara, it is of our main staple crops and we grow enough each year for the whole year. Grown and stored well we still have kūmara left from the previous year when we do the next harvest. We have a large collection of pre European and early commercial varieties with a range of colours including purple, red, dark pink, orange, golden, pale pink and white. As well as varying in colour the leaf shape, growth habits and flavours also vary with some being sweeter than others. Diversity is so important for resilience so we personally grow a minimum of 6 varieties each year in our home garden and find that which does best does vary from season to season but by growing a range of varieties we always have some that produce excellent crops. Joseph, who is the main grower, grows all varieties every year so that we keep the lines going and have tupu to sell.
We live in the Hokianga so our climate is well suited to growing kūmara which needs several (at least 3.5) months frost free to produce a good crop so is harder to grow in the colder areas of New Zealand although some of the varieties came from around the country including Bay of Plenty and Marlborough.
Growing the tupu or slips
The kūmara growing season starts with the tāpapa bed in August. A tāpapa bed is a kind of nursery bed for growing the tupu or shoots (also known as ‘slips’) that will be planted out. When sorting the previous years crop good, healthy tubers of each variety were selected and stored. We wrap ours individually in newspaper to store them although Joseph stores his just loose in a plywood box.
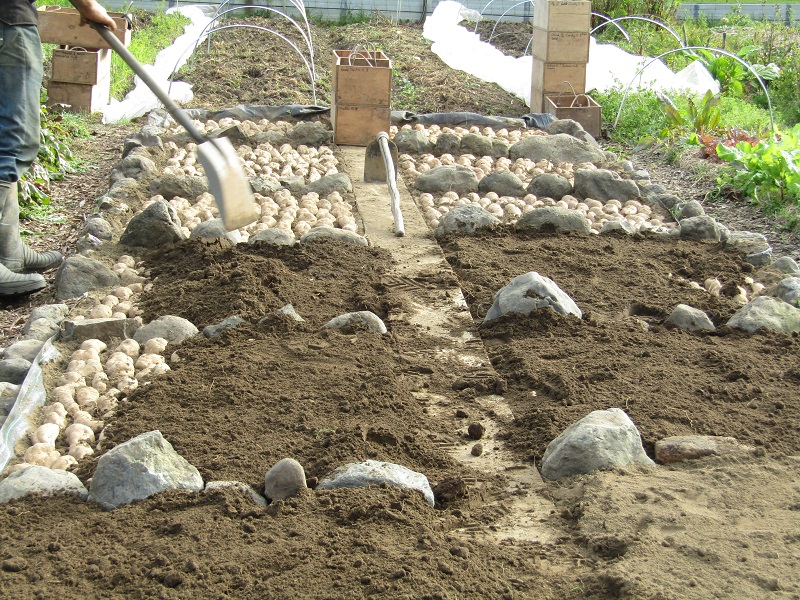
Because enough tupu are being grown to sell a large tāpapa bed is planted. If just a few are needed for a home garden then just a small bed can be created or even deep wooden boxes can be used. The kūmara need warmth to sprout so if you are in a colder area or just want them to get going quickly then putting a layer of horse manure and then grass clippings at the bottom of the box will provide bottom heat as it rots down, a layer of sand is then needed, and then a thick layer of silty/sandy loam or of sand mixed with a little potting mix. Bury the kūmara, spread out and not touching each other. The box can then be kept in a greenhouse or tunnel house for extra warmth and also covered with a sheet of glass or plastic. Keep the growing medium moist but not wet, check it regularly and after a few weeks the tupu should appear. Remove the glass or plastic at that point.
As our tāpapa is large and outside we put hoops over it and cover with plastic until the tupu are growing. Joseph also uses rocks as barriers to mark the different varieties and to help hold warmth.

Picking the tupu
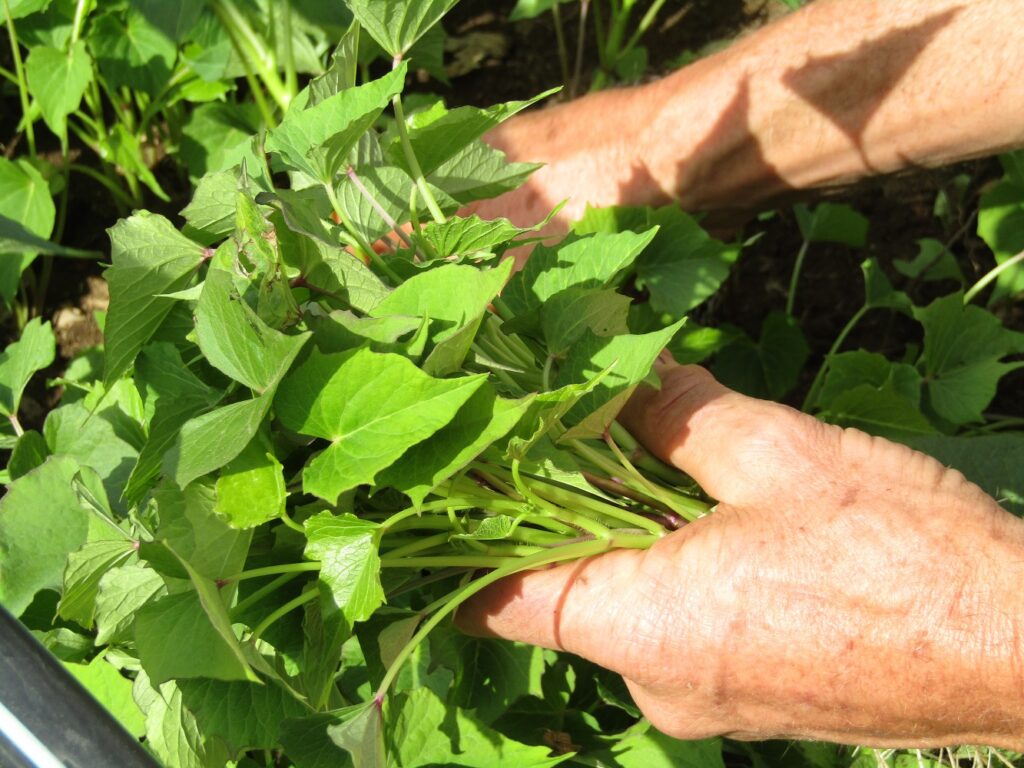
The tupu (shoots) usually start to be ready to pick from early to mid October. Once they reach a minimum of 15 cm long we carefully remove them from the buried kumara taking care not to disturb it or to damage smaller shoots not yet ready to pick. The buried kūmara will continue to produce tupu for many weeks.
The tupu will have roots and are quite vulnerable so we stand them in buckets in the shade with their roots in water until we are ready to plant them or to send out to customers as we will be selling tupu.
Occasionally some tupu have not developed roots but this should not hamper their ability to establish. Watering for a few days after planting will help them quickly establish.
Preparing the beds
Kūmara prefers light/ sandy soils which have not been too deeply cultivated. Having said that we are on clay soil but have a method which works well for us. We plant in beds that are about 1 metre wide. We don’t deeply fork the bed but shape the bed so that a mound runs length ways along it. We add carbon rich compost or very well rotted manure. This system works very well for planting kumara in a garden with permanent beds.


Planting out
The tupu are planted in two rows, one on each side of the mound, at a spacing of about 30cm along each row. The rows are staggered so that the tupu on one side are positioned opposite the middle of the space between two on the other side. We plant the tupu so the roots and part of the shoot is well covered and the leaves out of the ground. As they are planted on the sloping side of the mound we shape around each planted shoot to catch the water. We water them well and keep them watered for the first few days. Each bed will be weeded two or three times and eventually the tops cover the whole area and require no significant input until harvesting.
On very loose soil the tupu form a ‘J’ shape as they are pushed into the soil. Our soil is a bit heavy for that so we create a planting slit in the ground and lay the tupu in and then angle it so the top is out of the ground. Ends up as more of an ‘L’ shape.
Kūmara do not withstand frost so, in areas that are marginal for kumara growing and experience late frosts then hooping the beds so that plastic or frost cloth can be put over could be a good idea. Remember to check under the cloth or plastic regularly, keep the bed moist and remove the cover completely once the danger of frost is over.
We hoop and net our beds to keep pukeko off until the tupu are fully established as they have a habit of pulling all of the tupu out otherwise.
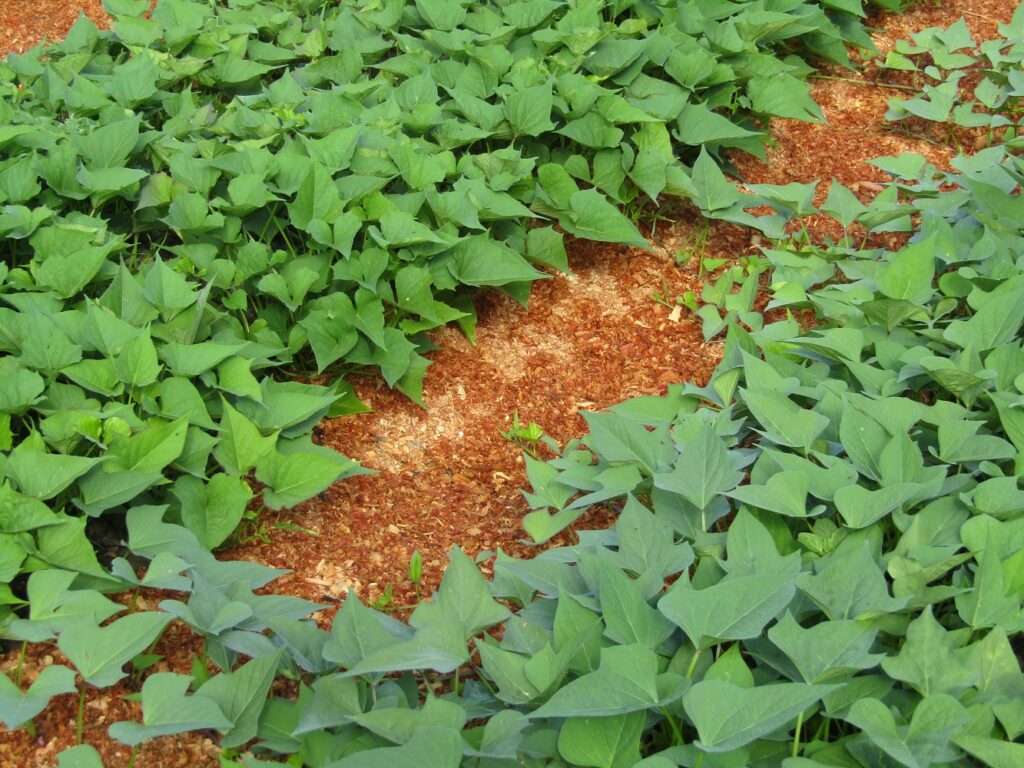
We also cardboard and sawdust the paths between the beds to keep them clean and free of perennial weeds which can hide under the kūmara foliage.
The only significant action required during the growing season could be to water if the plants wilt during a prolonged drought. We have never needed to do this.
Find out how we harvest and store our kūmara.
We will have kūmara tupu to sell each year. Details here
Happy growing!
Our hooped and netted kūmara beds.